# PiKVM Revisited
[PiKVM](https://github.com/pikvm/docs) is a great project I documented [previously](https://ku.nz/blog/ipmi.html)
Continuing the story, I bought a Raspberry Pi 4 and HDMI capture card and they finally showed up in the mail.
This build is a bit more expensive, probably closer to $100 vs $10.
$35 +$8 shipping - https://www.pishop.us/product/raspberry-pi-4-model-b-2gb/
$34 - https://www.aliexpress.com/item/4000169714570.html
## Power
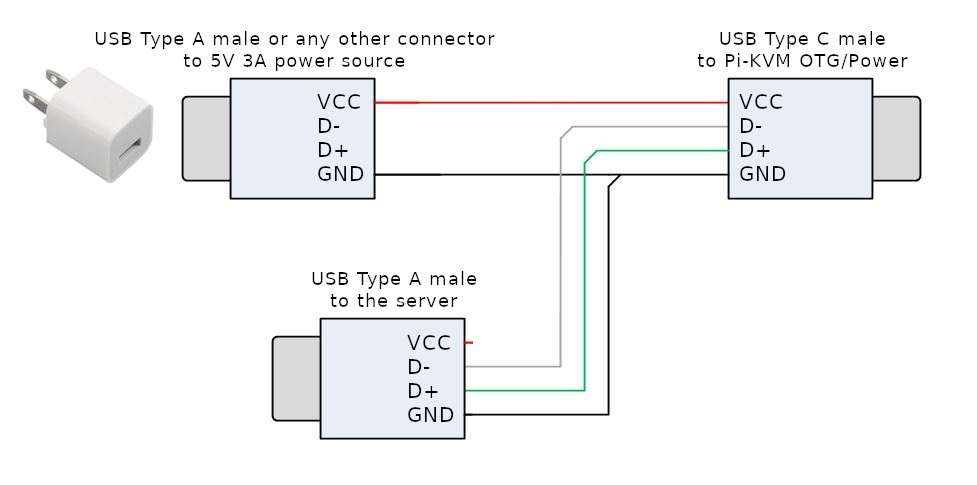
There's only one USB-C port on the Raspberry PI, so you'll need to make a special cable to both power and control another computer.
You can [cut some spare usb cables and do a bit of soldering](https://www.youtube.com/watch?v=uLuBuQUF61o).
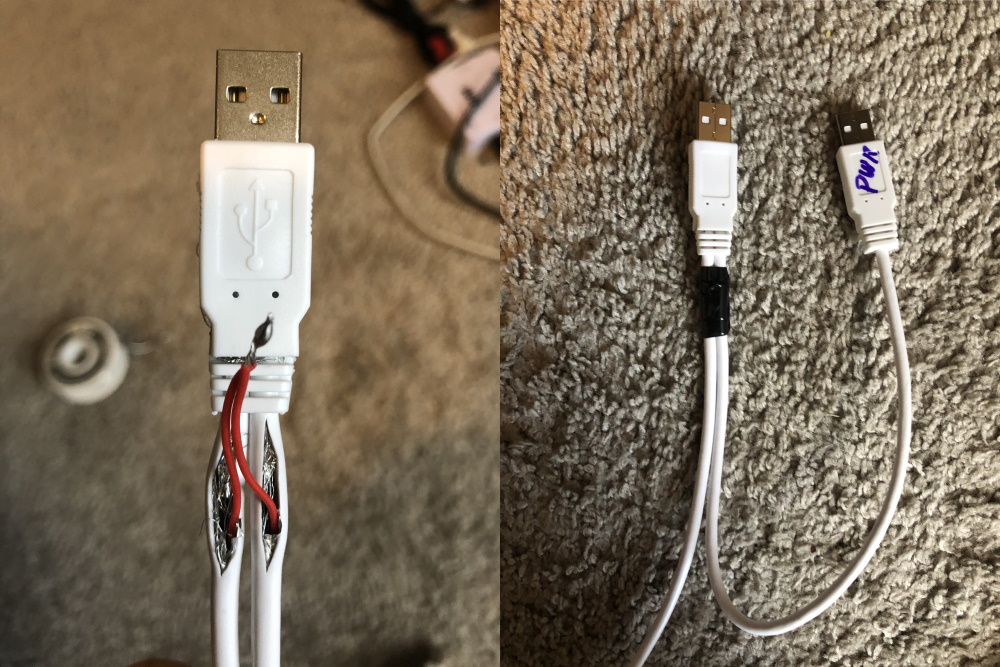
But I found it was easier to just modify a power splitter
$6 - https://www.amazon.com/gp/product/B01L91CCHC
Inside the USB-A connector you will see:
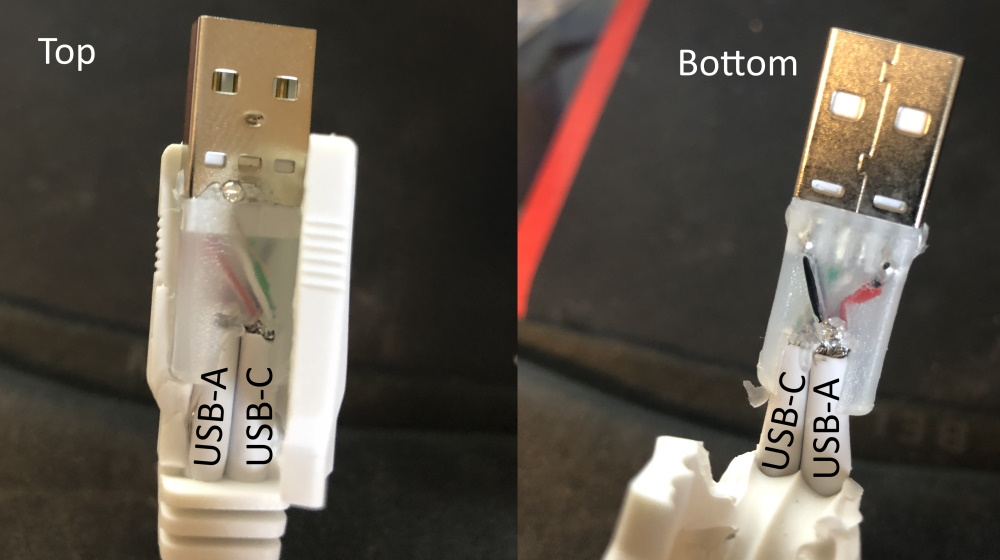
- Cut the red wire from the Power USB-A
- Cut the red wire from the USB-C
- Twist and solder the two red wires together
- Secure with electrical tape.
It's a shame you can't just buy this cable premade.
As a no solder solution you could buy that same splitter cable, plug a USB extension cable into the data USB-A, and cut the red wire in the extension cable.
## Building the OS
With Ubuntu 18.04 Desktop
Install docker if you haven't already
```
curl -fsSL https://get.docker.com -o get-docker.sh
sudo sh get-docker.sh
sudo usermod -aG docker $USER
```
Download the os builder
```
git clone https://github.com/pikvm/os.git
```
open the os project
```
cd os
```
insert an SD card, if the drive auto mounts, use `umount` to unmount it, for example:
```
sudo umount /media/ubuntu/UNTITLED/
```
Now create a config file:
```
cat > config.mk << EOF
BOARD = rpi4
PLATFORM = v2-hdmi
HOSTNAME = pikvm
LOCALE = en_US
ROOT_PASSWD = root
TIMEZONE = America/Chicago
WEBUI_ADMIN_PASSWD = admin
IPMI_ADMIN_PASSWD = admin
CARD = /dev/sdb
EOF
```
Double check the CARD variable and make certain it is pointed to the SD card.
If `/dev/sdb` is the location of a HDD you could delete something important on your computer.
You have been warned.
To build the OS use `make`, this will take a bit
```
sudo make os
```
To write the image to the sd card
```
sudo make install
```
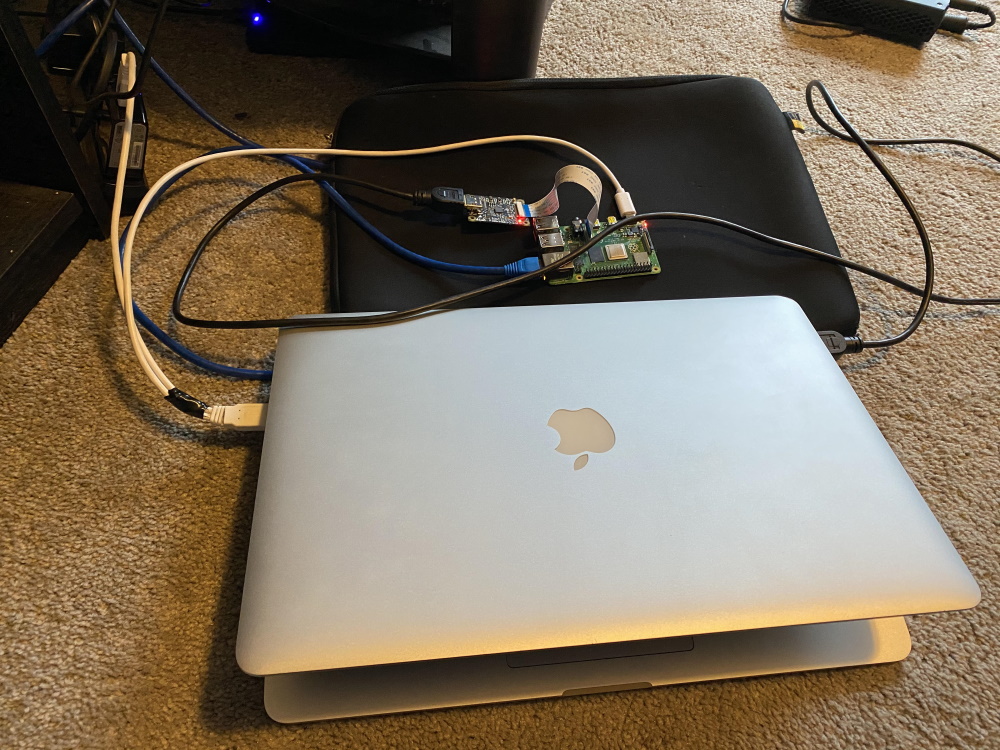
Put the microsd in the raspberry pi and connect everything up.
The Lusya HDMI capture board must be plugged into the Raspberry Pi's Camera CSI-2 port.
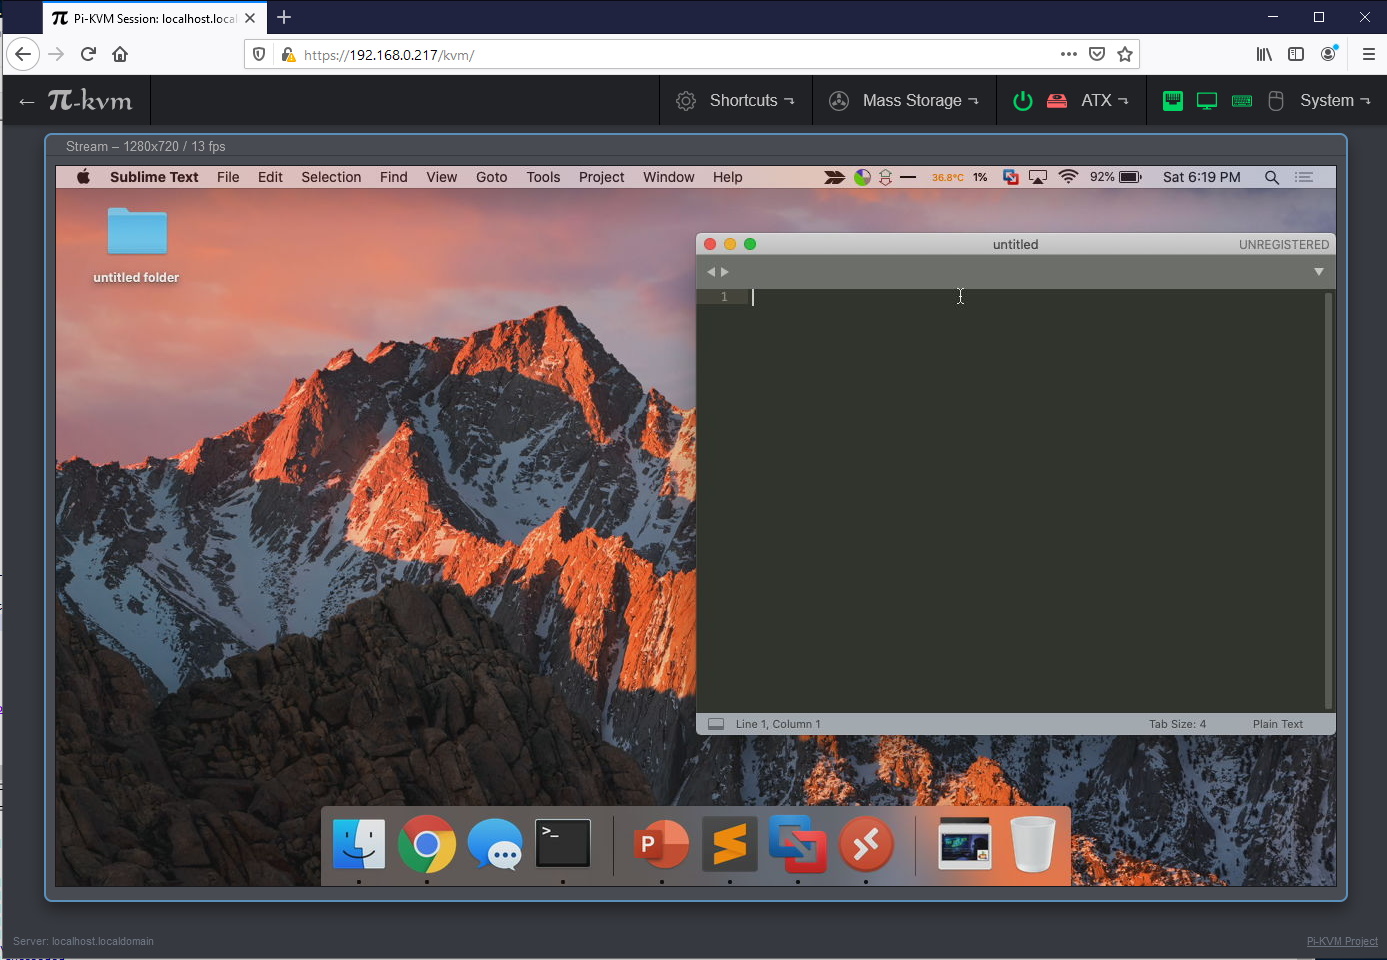
Scan your network and connect to the raspberry pi ip over https. Login as `admin/admin`
You should be able to control the keyboard and mouse
You can enable a VNC server on the host with:
```
rw
systemctl enable kvmd-vnc
systemctl start kvmd-vnc
ro
```
You can enable tightvnc support if you disable auth in `/etc/kvmd/override.yaml`
```
kvmd:
auth:
enabled: false
```
or just use tigervnc to connect
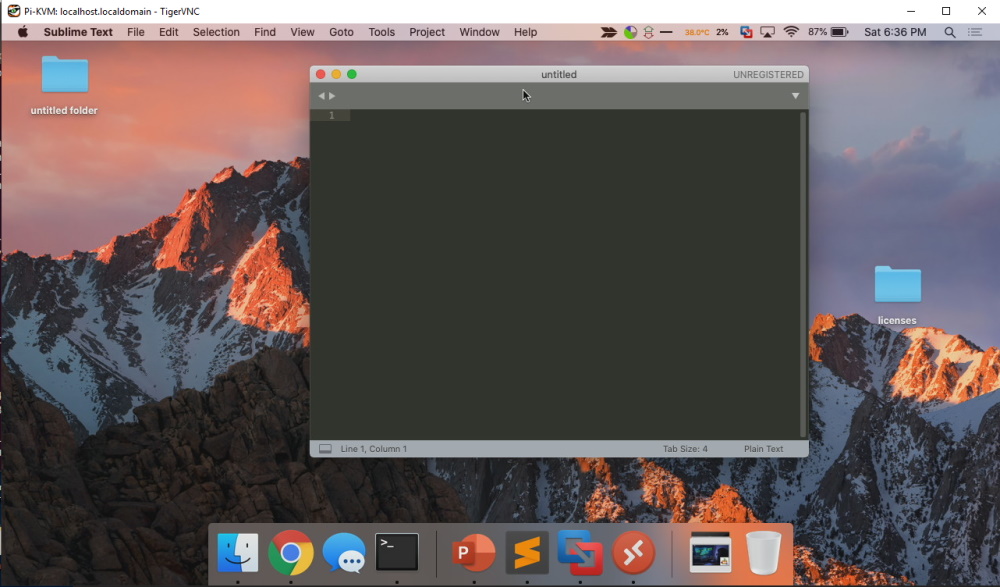
Fun little device to play around with.